 Bellingham Exterior
 Siding Repair for South Hill's Exposed, Established Homes
South Hill sits up above much of Bellingham, which means its homes catch weather that lower, more sheltered streets don't see as often. Elevated, exposed lots get more direct wind-driven rain, more salt-laden air rolling in off Bellingham Bay, and — thanks to the tree cover mixed in with the older housing stock up there — a longer moss and algae season than you'd expect just a mile or two away. Siding on South Hill homes works harder than siding in a flat, sheltered subdivision, and it shows the wear differently: more staining at butt joints, more caulk failure at trim, more moisture creeping in behind panels that look fine from the sidewalk.
We repair siding on South Hill homes regularly, and the pattern we see is consistent. Small problems that get caught early are quick, inexpensive fixes. The same problems left alone for a year or two turn into sheathing damage, framing repairs, and bills that are five or ten times larger than the original fix would have been. This page is about doing the repair right the first time — diagnosing the actual cause, not just patching what's visible.
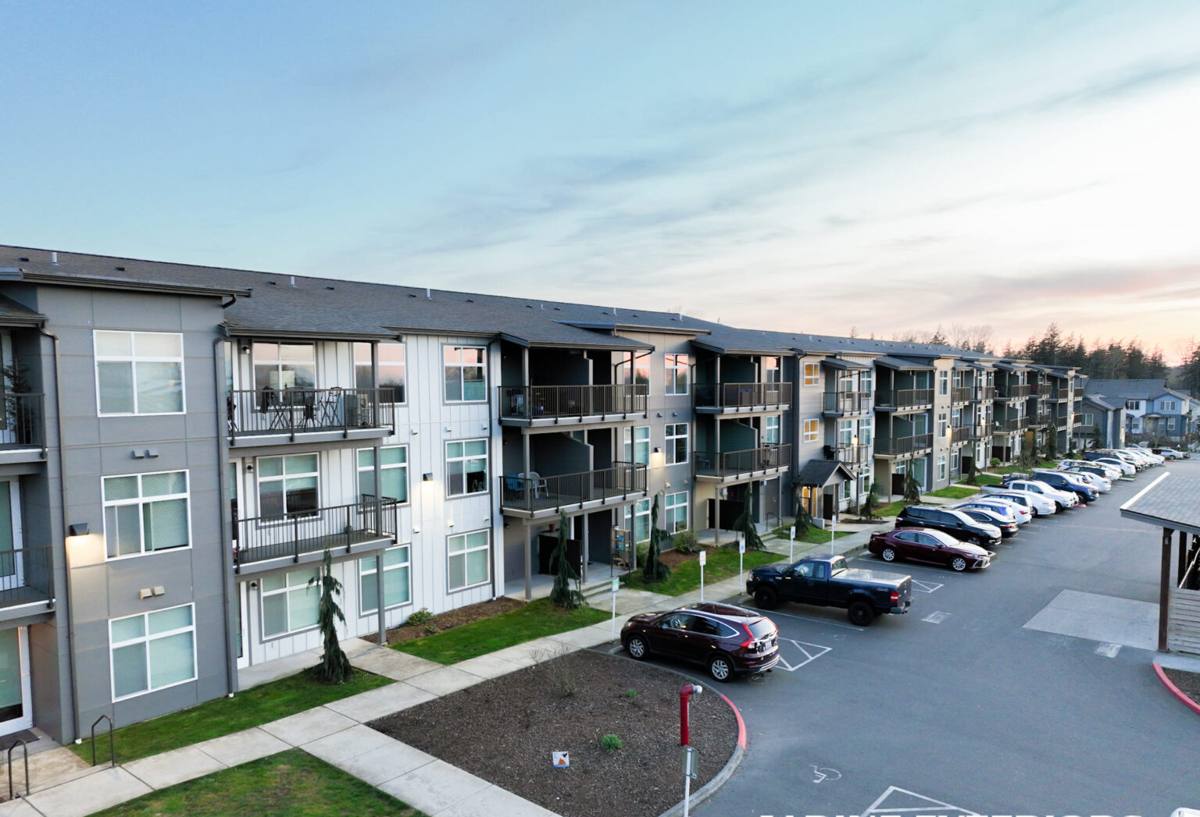
Why This Climate Is Hard on Siding
Three things drive most of the siding repair calls we get in this part of Whatcom County:
- Salt air: Proximity to the bay accelerates corrosion on fasteners, flashing, and any exposed metal trim. Rust streaking below nail heads or trim edges is a common early warning sign.
- Driving rain: Wind-driven rain doesn't just fall on siding, it pushes into every gap, lap joint, and penetration that isn't properly sealed or flashed. Water intrusion rarely shows up where it enters — it shows up several feet away or several courses down, which is why an accurate diagnosis matters more than a quick patch.
- Extended moss and algae season: Shaded, north-facing, and tree-adjacent walls on South Hill stay damp longer between dry spells. Moss and algae growth traps moisture against the siding surface, which speeds up paint failure, wood rot, and — on cementitious products without a factory finish — surface deterioration.
None of this means South Hill is a bad place to own a home with siding — it just means the siding, the flashing details, and the caulk joints need to be right, and need periodic attention, in a way that a drier or more sheltered lot might not require.
Common Siding Problems We Find in South Hill
Moisture Intrusion Behind the Siding
This is the one that matters most and shows the least. Water gets behind siding at a failed caulk joint, a poorly flashed window, or a cracked panel, and then travels downward inside the wall assembly before it ever stains the exterior. By the time you see discoloration, soft spots, or a musty smell near an interior wall, the damage has usually been developing for a while.
Rot and Deterioration at Butt Joints and Trim
Horizontal siding sheds water well across a flat run, but butt joints, corner boards, and trim-to-siding transitions are where water collects if they weren't sealed or flashed correctly during the original install. On older South Hill homes with wood or engineered wood siding, this is frequently where rot starts.
Nail Pops and Fastener Failure
Wood movement, freeze-thaw cycles, and — near the bay — accelerated fastener corrosion all contribute to popped or backed-out nails. Beyond being unsightly, a popped fastener leaves an open path for water.
Caulk and Sealant Failure
Caulk has a service life. UV exposure, temperature swings, and constant damp-dry cycling break it down faster here than in a drier climate. Failed caulk at seams, trim, and penetrations (hose bibs, vents, light fixtures) is one of the most common — and most overlooked — repair items we find.
Moss, Algae, and Staining
Cosmetic on the surface, but a maintenance issue underneath. Persistent moss and algae growth holds moisture against the siding and accelerates whatever's already going wrong structurally.
Impact Damage
Cracked or dented panels from storm debris, ladders, or landscaping equipment are usually easy fixes if addressed promptly — and a much bigger problem if the crack is left open to weather for a season.
What a Correct Repair Actually Involves
A repair that only addresses what's visible from the ground is not a complete repair. Our process starts with figuring out why the damage happened, not just patching the symptom.
- Identify the water path. We trace visible damage back to its actual entry point — a failed joint, missing flashing, a caulk gap — rather than assuming the damage is exactly where it appears.
- Check what's behind the siding. Where there's evidence of moisture intrusion, we look at the house wrap, sheathing, and framing before closing anything back up. Repairing siding over damaged sheathing just hides the problem for a while longer.
- Match materials correctly. Replacement pieces need to match the existing siding's profile, exposure, and finish — not just look close from the street.
- Re-flash and re-seal to spec. Any opened joint, window, or penetration gets flashed and sealed the way it should have been the first time, not just re-caulked over the old failure point.
- Confirm drainage. On a hillside lot, we also check that grading, gutters, and downspouts near the repair area aren't contributing to the moisture problem in the first place.
Repair or Replace? How We Help You Decide
Not every siding problem justifies full replacement, and not every repair is worth doing instead of replacing. We give homeowners a straight answer based on what we actually find, not a default toward the bigger job.
| Factor | Favors Repair | Favors Replacement |
|---|---|---|
| Extent of damage | Isolated to a few panels or one wall section | Recurring failures across multiple walls or elevations |
| Underlying structure | Sheathing and framing intact | Rot or moisture damage found behind the siding |
| Material match | Matching panels/profile still available | Discontinued profile, color, or product line |
| Age of existing siding | Siding is within its expected service life | Siding is near or past end of life, with repairs becoming frequent |
| Root cause | A single identifiable, fixable cause | Systemic issue (original install quality, product limitations) |
When repair is the right call, we do the repair. We're not in the business of upselling a full re-side to a homeowner who needs three panels replaced. When the damage points to a bigger, recurring problem, we'll tell you that plainly and explain why.
Why Material Matters When We Repair
We install exclusively James Hardie fiber cement siding on this company's replacement and new-construction work, and that shapes how we approach repairs too.
If your home already has James Hardie siding, repairs are usually straightforward. We can source matching HardiePlank or panel product in the correct profile and ColorPlus factory finish, cut and install it to Hardie's specifications, and field-touch the cut edges so the repair blends in and stays protected.
If your home has vinyl, LP SmartSide, cedar, or another fiber cement brand, we'll still take an honest look and make functional repairs where that's the sensible option — re-securing loose panels, replacing a damaged section with the closest available match, resealing joints. What we won't do is pretend a patch is a long-term fix when it isn't. Older vinyl and wood profiles are frequently discontinued, color-matching painted or stained siding gets harder every year as it weathers unevenly, and some products simply don't hold up well to patch-and-blend repairs the way factory-finished fiber cement does. When a home's existing siding is past the point where repair makes sense, we'll say so and talk through what replacing that section — or the whole elevation — with James Hardie would look like, including why we think it's the better long-term investment for a South Hill lot: it's non-combustible, engineered for wet Pacific Northwest climates, and backed by a strong transferable warranty.
Why Hire a Crew That Already Works in South Hill
Hillside neighborhoods like South Hill have their own quirks — more wind exposure on certain elevations, drainage patterns tied to the slope, and a mix of home ages that means no two repair jobs look quite the same. A crew that's already spent time working on siding up here isn't guessing about how the bay's salt air, the rain patterns, or the shaded, moss-prone sides of a hillside lot will affect a repair over time. That familiarity shows up in small decisions — where to add extra flashing, which joints are worth resealing preventively while we're already up there, how to sequence a repair around a wet forecast — that a crew unfamiliar with this specific climate might not think to make.
Signs You Should Have Your Siding Looked At
- Soft, spongy, or discolored areas anywhere on the siding surface
- Visible cracks, gaps, or warping in panels or boards
- Peeling paint or bubbling finish, especially near joints and trim
- Rust streaking below nail heads, screws, or metal flashing
- Persistent moss or algae growth that returns quickly after cleaning
- Musty odor or visible staining on an interior wall that backs up to exterior siding
- Popped or backed-out nails and fasteners
- Caulk that's cracked, shrunk, or pulling away from a joint
- Higher-than-normal heating or cooling bills with no other clear cause
If you're seeing any of these on a South Hill home, it's worth having a professional take a look before the next stretch of driving rain gets behind it. We offer free, no-pressure estimates — we'll tell you honestly whether you're looking at a simple repair, a bigger fix, or something in between, and walk you through exactly what we'd do and why.