 Bellingham Exterior
 Building New in Puget? The Windows Are Where Most Problems Start Later
If you're framing a new home or an addition in the Puget area of Bellingham, the window installation is one of the few construction steps that's nearly impossible to fix cheaply once the siding and interior finishes are closed up. New-construction windows are installed with a nailing flange directly into the rough opening before the weather-resistive barrier and siding go on, which means the flashing sequence, the sill pan, and the fastening pattern all have to be right the first time. In a lot of the country, a small mistake here just means a slightly drafty window. In Whatcom County, with our wind-driven rain and long wet season, the same mistake means water tracking behind the siding for years before anyone notices the rot.
We install new-construction windows for builders and homeowners across Bellingham, and Puget's mix of exposure to weather off the water and heavy tree cover gives it its own set of demands. This page covers what a correct install actually involves, how we handle it, and what to ask before you hire anyone to do this work on your build.
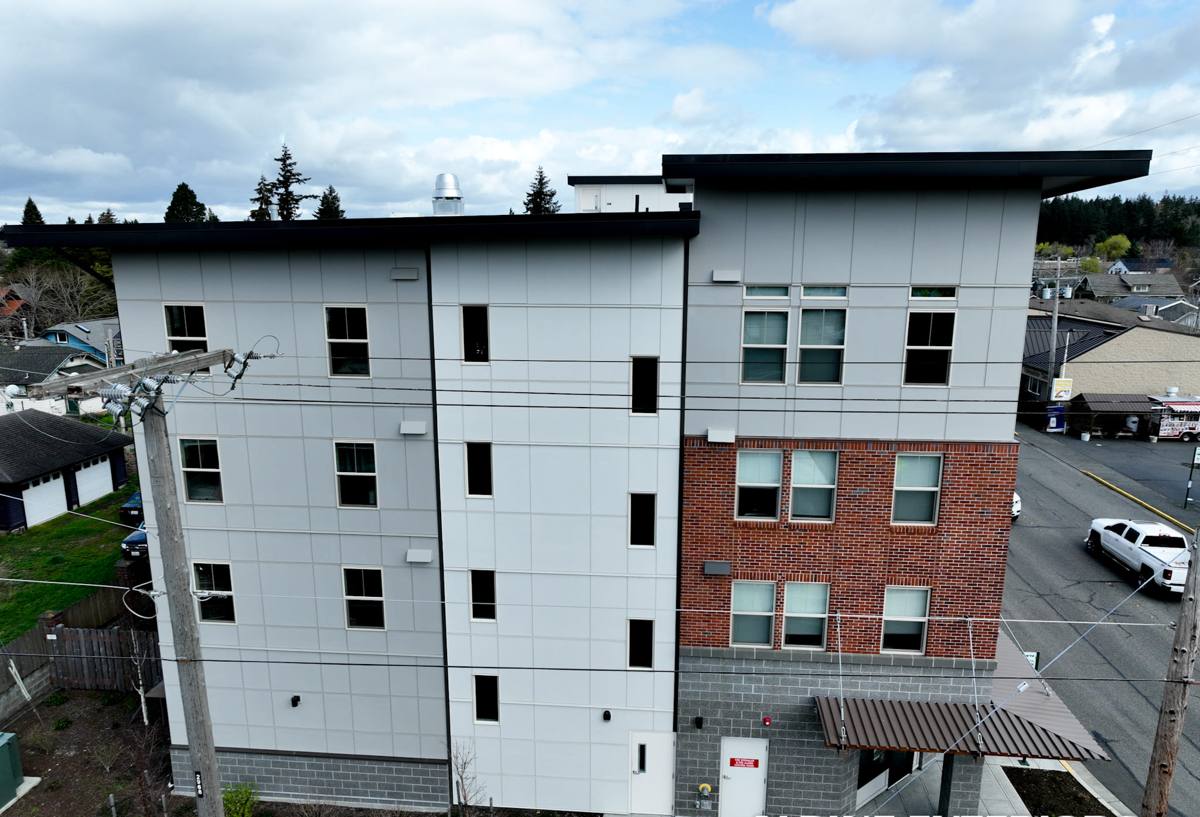
What Puget's Climate Actually Does to a Window Opening
Three things define window performance in this part of Bellingham, and they all point in the same direction: keep water moving out, never in.
Salt Air and Metal Fatigue
Proximity to Bellingham Bay means airborne salt reaches further inland than people expect, especially on west and south-facing exposures during storm season. Salt air accelerates corrosion on unprotected fasteners, cheap flashing tape adhesives, and lower-grade aluminum trim. It doesn't ruin a window outright, but it shortens the life of the hardware and trim details around it if they weren't specified with coastal exposure in mind.
Driving Rain, Not Just Rain
Bellingham gets a lot of rain, but the number that actually matters for windows is wind-driven rain — water being pushed sideways and upward into laps and joints instead of just falling straight down. A new-construction window relies on a shingle-style flashing sequence (sill pan first, then jambs, then head flashing lapping over the top) to shed that kind of water. Skip a step or lap something backward, and driving rain will find it.
Moss, Shade, and Standing Moisture
Puget's tree cover keeps a lot of properties shaded for much of the year, which is good for the house in summer but means sills, trim, and lower courses of siding stay damp longer after every storm. That extended moisture window is exactly what moss and mildew need to take hold, and it's also what turns a minor flashing gap into a slow rot problem instead of a quick-drying nuisance.
What a Correct New-Construction Window Install Involves
New-construction windows are fundamentally different from replacement (retrofit) windows, and the installation sequence is where that difference shows up. Here's the order that actually keeps water out, start to finish:
- Rough opening is checked for square, level, and correct dimension against the window's actual size — not just the plan spec
- Sill pan flashing installed first, sloped or with end dams so any water that gets past the window drains back outward, never inward toward the framing
- Window set into the opening, shimmed for level and square, and fastened through the nailing flange per the manufacturer's pattern
- Jamb flashing tape applied over the side flanges, lapping the sill pan
- Head flashing installed last, lapping over the top of the jamb flashing and integrated with the weather-resistive barrier above
- WRB (housewrap) integrated in shingle fashion over the head flashing so the whole assembly drains down and out, not into the wall
- Interior and exterior sealant applied only where the manufacturer specifies — sealing the wrong joint can trap water instead of stopping it
That sequence sounds simple written out, but every lap direction matters. A head flashing installed under the WRB instead of over it, or a sill pan without end dams, will pass a walk-through and still leak the first real storm of the season.
New-Construction vs. Replacement Windows
Since we get asked this often on Puget builds that include both new additions and existing-home upgrades, here's the practical difference:
| Factor | New-Construction Window | Replacement Window |
|---|---|---|
| Installed into | Open stud framing, before siding | Existing finished wall opening |
| Attachment | Nailing flange fastened to sheathing | Frame fastened through existing jambs, no flange |
| Flashing control | Full sill pan, jamb, and head flashing sequence | Relies on existing wall's flashing and sealant |
| Best suited for | New builds, additions, full siding tear-offs | Existing homes keeping current siding |
| Long-term water performance | Highest, when installed correctly | Good, but limited by what's already in the wall |
If you're framing new in Puget, you want a true new-construction window and a full flashing sequence — not a retrofit window shortcut, even if it's offered as a faster option.
Choosing Window Materials for This Exposure
Material choice matters less than installation quality, but it's not irrelevant, especially with salt air and constant moisture in the mix.
| Frame Material | How It Handles Puget's Climate | Maintenance |
|---|---|---|
| Vinyl | Won't corrode or rot; performs well in wet, salt-exposed air | Low — occasional cleaning |
| Fiberglass | Very stable, resists warping in temperature swings and moisture | Low |
| Aluminum | Strong but conducts cold and can corrode faster near salt air unless properly coated | Moderate |
| Wood-clad | Good insulation, but exposed wood edges are vulnerable if flashing details fail | Higher — finish and joint monitoring |
We don't push one brand or material on every job. What we do push is matching the frame to the exposure — a heavily shaded, damp elevation is not where we'd recommend an unclad wood option, for example, regardless of how it looks in a showroom.
Our Process on a Puget Build
1. Rough Opening Review
Before a single window goes in, we check every rough opening against the actual window schedule. Framing tolerances drift on real job sites, and catching a sizing issue before install day is far cheaper than after.
2. Sill Pan and Flashing Plan
We flash every opening the same way regardless of elevation — south and west walls facing weather don't get a lighter treatment than sheltered walls. Consistency is what prevents the "we'll catch it later" gaps that cause leaks.
3. Set, Shim, Fasten
Windows are set level and square and fastened per the manufacturer's exact pattern. An under-fastened flange is a warranty problem waiting to happen; an over-fastened or misaligned one can bow the frame and cause the sash to bind.
4. Flashing Integration with WRB
We coordinate directly with the framer or GC on WRB timing so head flashing laps correctly into the housewrap instead of being taped over it as an afterthought.
5. Final Check and Documentation
Every opening gets a final look — level, square, flashing lap direction, sealant only where specified — before siding closes it in for good.
Common Mistakes We See on New-Construction Window Jobs
- Sill pan skipped or installed flat with no end dams to direct water outward
- Head flashing tucked under the WRB instead of lapped over it
- Sealant applied around the entire perimeter of the flange, trapping incidental water inside the wall instead of letting it drain
- Fastening pattern not matching the manufacturer's spec, voiding the window warranty without anyone realizing it
- Rough openings sized to the plan instead of the actual window, forcing shims or forced-fit installs
- Same flashing treatment used regardless of wall exposure, when weather-facing walls need the same rigor as sheltered ones — never less
Why a Local Puget Crew Matters
Whatcom County's building department and inspectors see a lot of new-construction window work, and there's a reason local experience helps: a crew that installs windows across Bellingham and the surrounding area — including Puget — has already worked through how the county's inspection expectations line up with manufacturer flashing instructions on this kind of weather exposure. That's not something you get from a crew that mostly works drier inland climates and treats coastal Washington like any other jobsite. We've seen what a rushed flashing job looks like two winters later, and we'd rather take the extra hour on install day than have that conversation.
Timeline and Cost Factors
Costs on new-construction window installs are driven mostly by window count, size, and material, plus how the flashing coordinates with your framer's schedule. Broadly:
- Standard vinyl or fiberglass windows in typical sizes sit at the lower end of the cost range
- Larger openings, custom shapes, or wood-clad units push costs up
- Coordinating install timing tightly with framing and WRB installation adds efficiency and usually saves money versus a disconnected schedule
- Upgrading flashing materials for weather-facing walls is a modest add-on cost relative to what a future leak repair would run
We're glad to walk your plans and give you a real number rather than a rough guess — every build's window count and exposure is different.
Get a Straight Answer for Your Puget Build
If you're framing a new home or addition in the Puget area and want windows installed correctly the first time, we're happy to look at your plans and talk through the details before anything goes into the wall. Reach out for a free, no-pressure estimate using the form below.