 Bellingham Exterior
 Windows in Lynden Work Harder Than People Think
Lynden sits in a part of Whatcom County that gets a different kind of weather test than a lot of homeowners expect. It's not just occasional storms — it's months of low-pressure systems rolling off the Pacific, driving rain at an angle instead of straight down, and long stretches of gray, damp air that never really dries out between rain events. Add in the shaded, moisture-heavy conditions that let moss and algae take hold on north-facing walls and rooflines, and you've got a climate that finds every weak point in a window system, usually within the first two or three winters.
Windows that were installed fast, sealed with the wrong materials, or never properly flashed don't fail all at once. They fail slowly — a little fogging between panes here, a soft spot in the sill there, a draft that gets worse every winter until you finally notice the heating bill creeping up. By the time it's obvious, moisture has usually already gotten into the wall framing around the window, not just the window itself.
This page is about one thing specifically: custom window installation and replacement for homes in and around Lynden, and what it actually takes to do that job right in this climate.
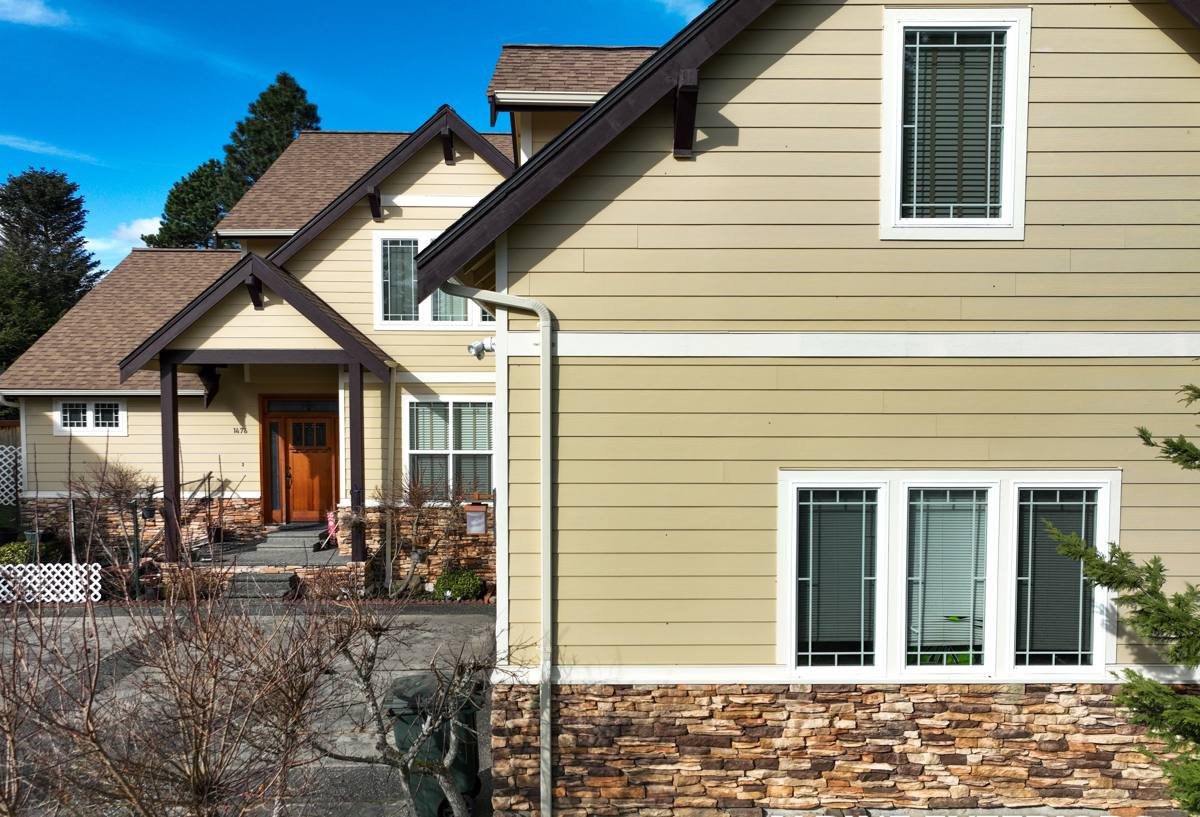
What "Custom" Actually Means for a Window Job
Custom doesn't mean expensive or fancy — it means the window is built and installed to match the actual opening and the actual house, instead of forcing a stock size to fit. Most homes in this area, especially older farmhouses and homes built before modern window sizing standards became common, have openings that are slightly out of square, slightly out of level, or sized differently than what a big-box store carries off the shelf.
A correct custom window job accounts for:
- The exact rough opening dimensions, measured at multiple points (openings settle unevenly over decades)
- The wall's actual depth and construction — older homes often have different stud and sheathing thickness than newer builds
- Existing trim, siding type, and whether it will be reused, repaired, or replaced during the swap
- Which direction the window faces and how much wind-driven rain it takes on during a typical winter storm
- Whether the current flashing and house wrap are still doing their job, or need to be corrected as part of the install
Skipping any of these steps is how you end up with a window that looks fine for a year or two and then starts leaking at the corners.
The Installation Details That Actually Matter Here
Flashing and Water Management
In a climate with sustained, wind-driven rain, the window itself is only part of the water barrier. How it's flashed into the wall determines whether water that reaches the opening drains back out or gets trapped behind the siding. We flash every opening with a proper drainage plane — sill pan first, then side flashing lapped correctly, then head flashing integrated with the house wrap — so water is directed out and down, never behind the window frame.
Sealant Selection
Not all caulks and sealants hold up the same way in a wet, temperature-swinging climate. Some products go brittle and crack within a few seasons, especially on south- and west-facing walls that see more sun and thermal movement. We use sealants rated for the exposure and movement each specific opening will see, not a single generic product for every window on the house.
Insulation Around the Frame
Gaps around a window frame need to be filled with a material that insulates without trapping moisture. Overfilling with the wrong expanding foam can actually bow the frame and cause the window to operate poorly. We fill gaps with an appropriate low-expansion product and check operation before final trim goes on.
Choosing a Window Type for a Lynden Home
There's no single "best" window for every house — it depends on the wall orientation, how much wind-driven rain that side of the house takes, and how the homeowner uses the room. Here's a general comparison of the common styles we install:
| Window Style | Best Use | Weather Performance | Maintenance Notes |
|---|---|---|---|
| Casement | Walls exposed to driving rain and wind | Compresses against the frame when closed — among the tightest seals against wind-driven rain | Crank hardware should be checked periodically; keep the track clear of debris |
| Double-Hung | Traditional look, easy interior cleaning | Good performance, but relies on balanced sash weatherstripping staying intact | Weatherstripping wears over time and should be inspected every few years |
| Sliding | Wide openings, patio or view walls | Adequate on sheltered walls; less ideal on the most exposed, rain-driven sides | Track needs regular cleaning to keep the seal effective |
| Fixed/Picture | Light and views without ventilation needs | No moving parts to seal — often the most weathertight option available | Lowest maintenance of all styles; glass cleaning only |
For homes with walls that take the brunt of winter storms, we often recommend casement or fixed windows on that exposure and reserve double-hung or sliding styles for more sheltered sides of the house. This isn't a hard rule — it's a trade-off conversation we have during the estimate, based on how your specific home sits on its lot.
Frame Materials: Honest Trade-Offs
We get asked often about vinyl versus fiberglass versus wood-clad frames. Each has a legitimate place, and the right choice depends on budget, the home's style, and how much upkeep you want to take on:
- Vinyl — lowest maintenance and most budget-friendly; performs well in this climate as long as it's installed with proper expansion allowance for temperature swings
- Fiberglass — more dimensionally stable than vinyl, holds paint well if you want a custom color, higher upfront cost
- Wood-clad — best fit for historic or traditional homes where interior wood trim matters, but the exterior cladding and any exposed wood details need to be inspected regularly given how much moisture this area sees
We don't push one material as universally "better" — we walk through what each one means for your maintenance schedule and budget, then let you decide.
Signs Your Current Windows Are Already Failing
Because failure is gradual, most homeowners don't call until the problem is visible. Watch for:
- Fogging or a milky haze between panes of double- or triple-pane glass — the seal has failed and the gas fill is gone
- Soft, discolored, or spongy wood at the sill or lower corners of the frame
- Visible daylight or a noticeable draft when the window is fully latched
- Moss or dark staining developing on the siding directly below a window, which often points to water shedding off the frame instead of draining properly
- Difficulty opening, closing, or locking a window that used to operate smoothly
Any one of these is worth a look before the next wet season. Water problems around a window rarely stay contained to the window — they spread into the wall framing if left alone.
What Drives the Cost of a Window Job
| Factor | Why It Matters |
|---|---|
| Number and size of openings | More and larger windows mean more material and labor |
| Frame material chosen | Vinyl, fiberglass, and wood-clad carry different price points |
| Condition of the existing opening | Rot repair or reframing adds time beyond a straightforward swap |
| Wall exposure | Highly exposed walls may warrant upgraded flashing details or sealants |
| Trim and siding work | Whether existing trim is reused or replaced changes both cost and finished appearance |
We give a firm, itemized estimate after seeing the actual openings — not a rough phone quote — because two houses with the "same" number of windows can have very different scopes of work once we look at the condition behind the trim.
How Our Process Works
- On-site assessment. We measure every opening, check the condition of existing flashing and framing, and talk through which window styles make sense for each wall.
- Written estimate. You get a clear, itemized quote — no pressure, no expiring "today only" pricing tactics.
- Scheduling around weather. We plan installs to minimize how long any opening sits exposed, which matters a lot given how quickly weather can turn here.
- Installation. Old windows come out, any framing or flashing issues found are addressed (and discussed with you before proceeding), and the new window goes in with correct flashing, sealant, and insulation.
- Final walkthrough. We check operation on every window, confirm the exterior seal and trim are finished properly, and answer any questions before we consider the job done.
Why a Crew That Already Works This Area Matters
A window installer who works Whatcom County regularly has already seen how homes in this area age — where moss tends to build up, which wall orientations take the worst of winter storms, and how older Lynden-area homes were typically framed compared to newer construction. That's not something you can fully substitute with a generic install checklist. It means fewer surprises during the job and a better shot at the flashing and sealing details actually matching what your specific home needs, rather than a one-size-fits-all approach designed for a drier climate.
It also means someone who's reachable if a question comes up two years down the road — not a crew that did one job in the area and moved on.
If you're dealing with drafty, foggy, or failing windows, or you're planning ahead for a remodel, we're happy to come take a look and give you a straightforward, no-pressure estimate using the form below.