 Bellingham Exterior
 Why Birch Bay's Coastal Climate Is Tough on Windows
Birch Bay sits right on the water, and that changes what a window has to survive compared to a house a few miles inland in Bellingham. Salt-laden air off the bay works into metal hardware, cladding seams, and fasteners over time, speeding up corrosion in ways homeowners further from the shoreline rarely deal with. Add in wind-driven rain that hits window walls at an angle instead of falling straight down, and you get water intrusion at flashing and sealant lines that would stay dry on a more sheltered lot.
Then there's the long moss and mildew season that Whatcom County is known for. Northwest Washington's wet, mild winters keep humidity high for months, and older or poorly sealed windows become a spot where condensation collects, wood trim stays damp, and mold gets a foothold. None of this means Birch Bay homes need something exotic — it means the material choices and install details have to account for salt exposure, wind-driven water, and sustained moisture in a way a generic replacement job might not.
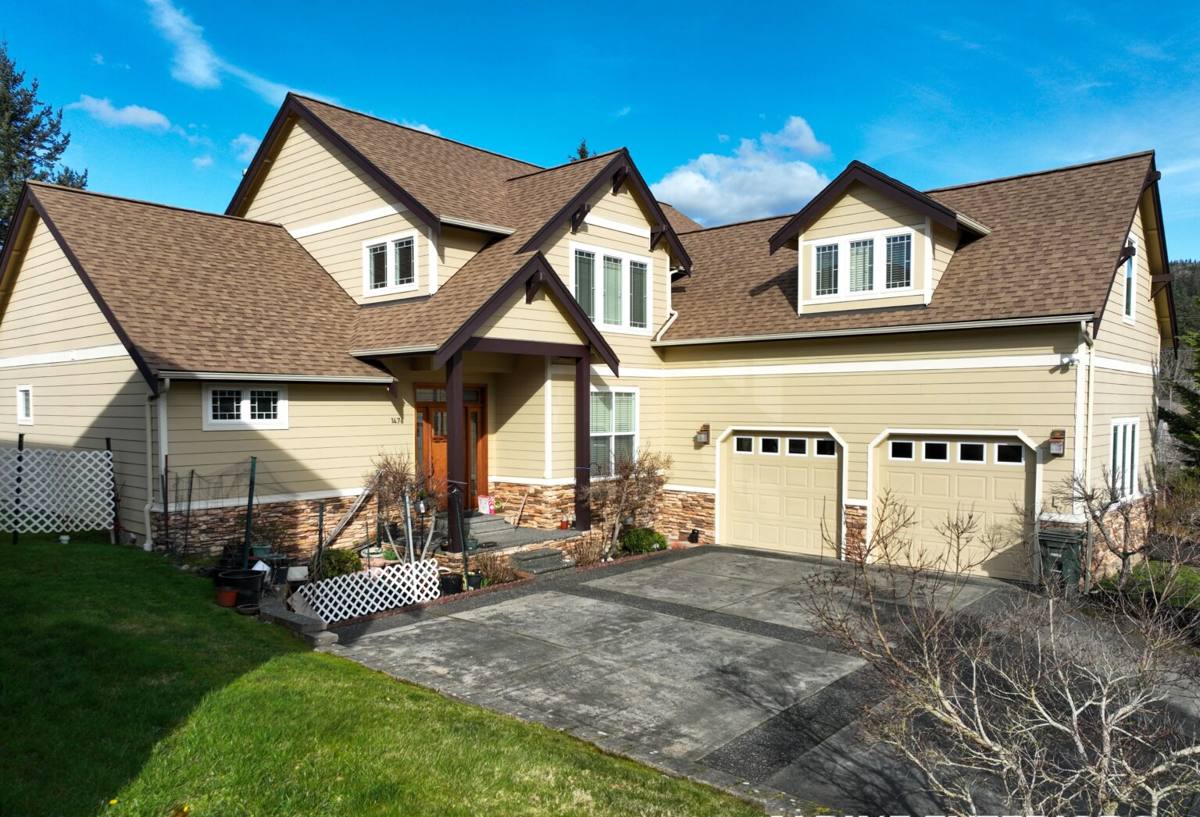
Signs It's Time to Replace, Not Repair
Not every window problem calls for a full replacement. But in a salt-air, high-moisture environment, symptoms that would be minor elsewhere often point to a frame or seal that's already failing from the inside out. Before spending money on repairs, it's worth checking for these signs:
- Fogging or a permanent haze between the panes — a sign the insulated glass seal has failed and moisture is trapped inside
- Visible corrosion or pitting on hinges, locks, or cranks, especially on windows facing the water
- Soft or discolored wood trim around the frame, which usually means water has been getting behind the casing
- Drafts you can feel even with the window fully latched, particularly during winter storms with wind off the bay
- Difficulty opening, closing, or locking — frames can swell, warp, or shift out of square as moisture cycles through the wood or vinyl
- A noticeable jump in heating costs without any other explanation
If you're only seeing one of these on a single window, a repair or reseal might buy you a few more years. If you're seeing several of these across multiple windows, especially on the side of the house that takes the weather, replacement is usually the more honest recommendation.
Full-Frame vs. Insert Replacement — Which Fits Your Home
There are two basic approaches to window replacement, and the right one depends on the condition of your existing frame, not just personal preference.
Insert (Pocket) Replacement
An insert replacement fits a new window into the existing frame, leaving the exterior trim and siding undisturbed. It's faster, less invasive, and usually less expensive. It's a solid option when the original frame is still square, dry, and structurally sound.
Full-Frame Replacement
A full-frame replacement removes the window down to the rough opening, including the old flashing. It costs more and takes longer, but it's the only way to actually inspect and correct what's happening behind the trim — which matters a lot on a home that's been absorbing salt air and driving rain for years. If there's any sign of water damage, rot, or failed flashing, an insert just buries the problem under a new window instead of fixing it.
| Factor | Insert Replacement | Full-Frame Replacement |
|---|---|---|
| Existing frame condition required | Sound, square, dry | Any condition — frame is removed |
| Access to flashing and sheathing | No | Yes |
| Typical timeline per window | Faster | Longer |
| Best fit for Birch Bay homes with | Newer construction, no water history | Older homes or any sign of past leaks |
Frame Materials That Hold Up Near Salt Water
Frame material matters more here than it does a few miles inland. Salt air is hard on exposed metal, and constant moisture is hard on anything that can absorb water and swell.
| Material | How it handles salt air & moisture | Trade-off |
|---|---|---|
| Vinyl | Won't corrode or rot; hardware is the main wear point | Limited color options; can flex in extreme heat, though rare here |
| Fiberglass | Very stable, resists warping and corrosion, holds paint well | Higher upfront cost than vinyl |
| Aluminum | Strong but prone to corrosion in salt air unless properly coated | Higher maintenance burden near the shoreline |
| Wood / wood-clad | Excellent look, but bare wood is vulnerable to sustained moisture | Needs consistent upkeep; cladding quality matters a lot |
We're not going to tell you one brand or one material is the only right answer — that depends on your budget, the look you want, and how much upkeep you're willing to commit to. What we will say is that any hardware — hinges, locks, cranks — should be a corrosion-resistant grade if the window faces open water or gets direct salt spray in a storm. That's a detail worth asking about no matter who installs your windows.
What a Correct Installation Actually Involves
Flashing and Water Management
This is the part of the job nobody sees once it's done, and it's the part that determines whether a window leaks in five years or twenty. Proper installation means flashing tape and a drainage plane that shed water downward and outward, sill pans that catch anything that gets past the glass, and a weather-resistant barrier that ties correctly into the existing wall assembly. Skipping or rushing this step is the single most common cause of hidden water damage behind a "new" window.
Sealing and Insulation
Around the frame, low-expansion foam or backer rod and sealant should fill the gap without bowing the frame out of square — over-foaming is a real problem that causes windows to operate poorly right out of the gate. Exterior sealant beads need to be tooled properly and matched to a joint width that will actually perform, not just look clean on install day.
Shimming and Squaring
A window that's out of square will bind, won't lock properly, and puts uneven stress on the seals over time. Correct shimming at the right load points keeps the frame true and keeps the operating hardware working the way it's supposed to for the life of the window.
Our Process, Start to Finish
1. On-Site Assessment
We look at each window individually — not just the glass, but the trim, sill, and siding around it — and tell you honestly whether it needs an insert or a full-frame approach. We'll point out any signs of past water intrusion so you know what you're dealing with before we start.
2. Measuring and Ordering
Windows are measured precisely for your specific openings. Given supply timelines, we'll give you a realistic estimate of lead time rather than a rushed promise we can't keep.
3. Installation
Old windows and flashing come out, the opening gets inspected and repaired if needed, new flashing and drainage details go in, and the new window is set, shimmed, sealed, and trimmed. We work efficiently to minimize the time your home is open to the weather.
4. Final Walkthrough
Every window gets operated, checked for square, and inspected inside and out before we consider the job finished. We'll walk you through basic care specific to your new windows before we leave.
What Drives the Cost
Every home and every window is different, so we won't quote a fake price range here. What we can do is tell you what actually moves the number up or down, so you're not guessing.
| Cost Factor | Why it matters |
|---|---|
| Insert vs. full-frame replacement | Full-frame requires more labor and often trim or siding repair |
| Frame material | Vinyl, fiberglass, and wood-clad carry different material costs |
| Glass package | Double-pane vs. triple-pane, low-E coatings, gas fill |
| Existing water or rot damage | Discovered damage behind the frame needs repair before the new window goes in |
| Window size and configuration | Large openings, bays, and custom shapes take more time and material |
| Access and site conditions | Second-story windows or tight lots can add labor time |
The most reliable way to get an accurate number is a walkthrough of the specific windows involved — anything else is a guess.
Why a Crew That Already Works Birch Bay Matters
Coastal work isn't the same as inland work, and a crew that's spent time on homes along this stretch of Whatcom County knows what to check for before problems show up. We know to look closely at flashing on water-facing walls, to expect more wear on hardware than you'd see in a sheltered subdivision, and to plan install timing around the wind and rain patterns that roll in off the bay. That local pattern recognition is the difference between a crew that follows a generic checklist and one that actually understands why Birch Bay homes wear the way they do.
Being based in Bellingham also means we're not driving in from out of the area for a single job and disappearing afterward. If a question comes up after installation, we're close by and easy to reach.
Caring for New Windows in a Salt-Air Environment
New windows reduce your maintenance burden, but they don't eliminate it — not this close to the water. A simple seasonal routine goes a long way:
- Rinse exterior frames and glass periodically to clear salt residue, especially after winter storms
- Wipe down and lightly lubricate hardware — hinges, locks, cranks — a couple of times a year
- Check exterior caulking annually and touch up any cracked or separated beads before wet season sets in
- Keep gutters and drainage clear near window openings so water isn't pooling against the wall
- Watch for early moss growth on nearby trim or siding, a sign that moisture is lingering longer than it should
A few minutes of upkeep a couple of times a year is a lot cheaper than dealing with a failed seal or a rotted sill down the road.
If you're weighing repair versus replacement, or just want an honest read on what your Birch Bay windows actually need, we're happy to walk the house with you and give you a straight answer. Fill out the form below for a free, no-pressure estimate.