 Bellingham Exterior
 Building New in Columbia Means Getting the Windows Right the First Time
If you're framing a new home or an addition in Columbia, the windows are one of the few components that get one real shot at being installed correctly. Once siding, trim, and interior finish work close up around them, fixing a flashing mistake means tearing back out finished work. That's a different job than swapping a window into an existing wall, and it calls for a crew that thinks about water management before the first unit ever gets set in the rough opening.
Columbia sits close enough to the water and to Bellingham's tree canopy that new construction here has to plan around conditions that inland, drier climates simply don't deal with. Salt-laden air off Bellingham Bay, wind-driven rain that hits window walls sideways rather than straight down, and a long, damp moss season that keeps exterior surfaces wet for months at a time all put extra demands on a window install. A window that would be perfectly fine in a dry climate can fail here in a few years if the flashing detail wasn't done right.
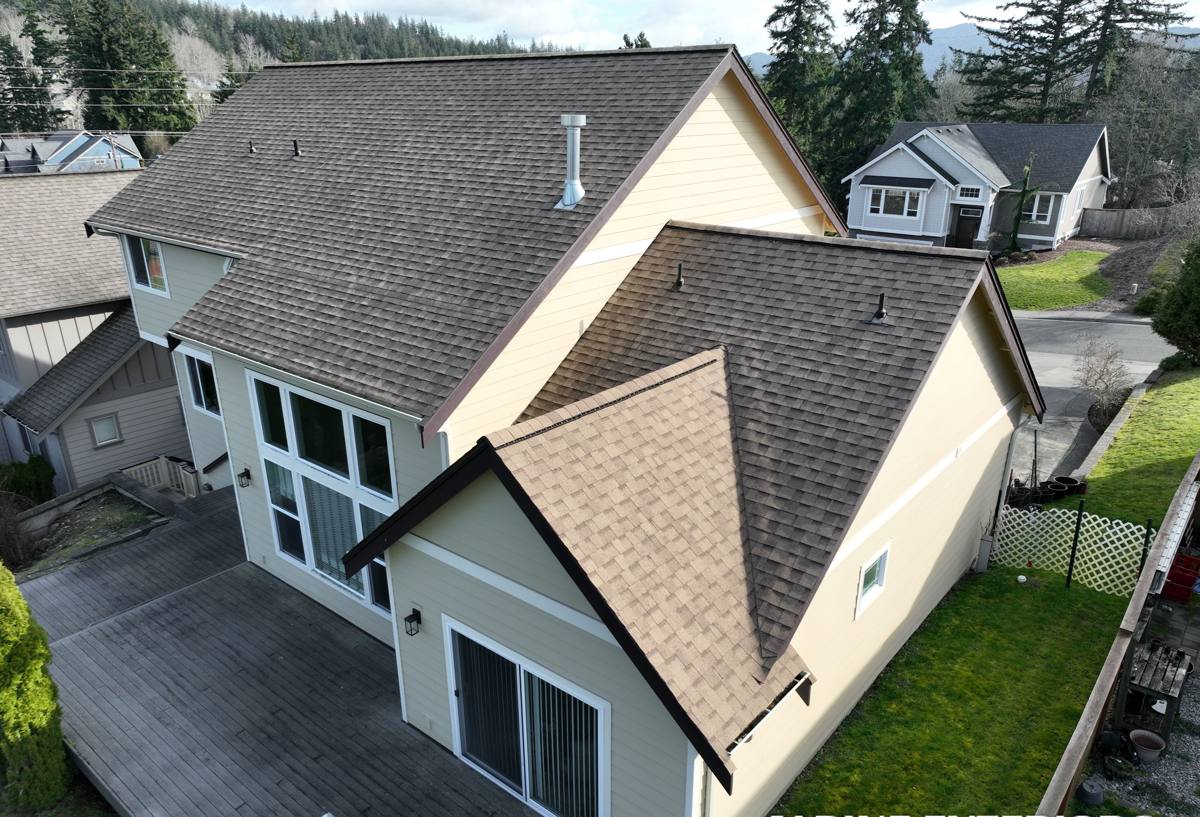
What Whatcom County Weather Actually Does to a New Window Install
Salt Air and Metal Fatigue
Homes closer to the bay see a slow, steady exposure to salt-carrying air. Over years, that air attacks unprotected fasteners, cheap flashing metals, and lower-grade hardware faster than it would inland. On a new build, this is easy to plan for up front by choosing corrosion-resistant flashing and fastener packages — but it's expensive and disruptive to correct after the siding is on.
Driving Rain, Not Just Rain
Bellingham gets plenty of straight-down rain, but the storms that do real damage to a building envelope are the ones that come in sideways off the water. Wind-driven rain finds any gap in a window's flashing system and pushes water uphill against gravity, behind trim, and into wall cavities. New-construction detailing has to assume this will happen and build in a drainage path so that water gets rejected outward instead of trapped inside the wall.
Moss Season and Prolonged Moisture
Whatcom County's long stretch of overcast, damp weather keeps north-facing walls, sills, and horizontal trim wet for extended periods. Anywhere organic debris or moss can hold moisture against a window frame or sill, you get slower drying and a higher risk of rot in untreated wood components or trapped water at improperly sloped sills. New construction gives us the chance to slope sills, seal properly, and choose materials that don't feed moss growth in the first place.
What a Correct New-Construction Window Install Actually Involves
"New construction window" refers to a specific installation method — the window has a nailing fin (also called a nail flange) that gets integrated directly into the wall's water-resistive barrier (WRB) and flashing system before siding goes on. Done right, this creates a continuous, shingled drainage plane where water always sheds outward and downward, never into the wall. Done wrong, it creates a hidden path straight into the framing.
The Sequence That Matters
- Rough opening is checked for square, level, and correct dimensions before the window ever arrives on site
- A sloped sill pan is installed at the bottom of the opening so any water that gets past the window has somewhere to go — outward, not into the framing
- Self-adhered flashing membrane is applied at the jambs and head in the correct shingle-lap order so upper layers always overlap lower ones
- The window is set, shimmed plumb and square, and fastened per the manufacturer's schedule — not just "nailed until it feels tight"
- The nailing fin is integrated into the WRB with flashing tape, maintaining the shingle-lap principle out to the siding layer
- A head flashing or drip cap is installed above the window to kick water away from the top of the opening
- Interior and exterior sealant joints are placed only where they're supposed to be — sealing the wrong joint can trap water instead of keeping it out
Every one of those steps depends on the one before it being done correctly. Skipping the sill pan, reversing a flashing lap, or over-sealing the wrong joint is invisible on install day and can take years to show up as a stain, soft trim, or rot inside the wall — right around the time it's covered by finished siding.
Frame and Glass Choices for Columbia's Conditions
There's no single "best" window brand or material for every new build — the right choice depends on budget, the home's design, and how exposed the wall is to weather. What we can speak to honestly are the trade-offs each frame material carries in a marine, high-moisture climate like this one.
| Frame Material | Weather Performance Here | Maintenance | Typical Trade-off |
|---|---|---|---|
| Vinyl | Good moisture and salt resistance; won't rot or corrode | Low — occasional cleaning | Frame flexes more in temperature swings; limited color options |
| Fiberglass | Excellent — dimensionally stable, resists moisture and salt well | Low | Higher upfront cost than vinyl |
| Wood | Needs a well-sealed exterior cladding to hold up to driving rain and moss-season moisture | High — regular refinishing on exposed sides | Best appearance for some architectural styles, but highest upkeep here |
| Aluminum-clad wood | Good — exterior clad face resists weather while wood interior stays warm-looking | Moderate | Clad seams and corners are sensitive install points; needs a careful installer |
For most new builds in Columbia, we lean toward vinyl or fiberglass on weather-exposed elevations, and reserve wood or clad-wood for protected walls or where the design calls for it. That's a maintenance and moisture-management call, not a statement that any one product is bad — it's about matching the material to how much direct weather a given wall actually sees.
Our Process on a New-Construction Job in Columbia
We work new construction differently than a retrofit, mainly because the sequencing has to line up with the builder's or framer's schedule.
- Rough opening review — we check openings against the window schedule and building plans before ordering, catching sizing or squaring issues while they're still cheap to fix.
- Material and flashing plan — we confirm the WRB, flashing tape, and sill pan materials being used on the project are compatible with each other and with the window's fin.
- Installation — sill pan, flashing, and window set following the shingle-lap sequence above, with fastening per the manufacturer's schedule.
- Documentation — we photograph flashing details at each opening before they're covered by siding, so there's a record of what's behind the finish work.
- Final check — operation, sealant lines, and trim tie-in are reviewed once siding and exterior trim are complete.
That documentation step matters more than it sounds like. Once siding goes up, nobody — including us — can see what's behind it. Having a photo record of every flashing detail gives you and your builder a reference if a question ever comes up down the road.
Why It Matters That We Already Work in This Area
A crew that mainly installs windows in drier parts of the state can build a technically fine window into a wall and still get the sequencing wrong for a marine climate — because the failure mode here isn't usually the window itself, it's how water is (or isn't) managed around it. Working new construction regularly in and around Bellingham and Whatcom County means we're used to coordinating with framers and builders on local job sites, we know which flashing and WRB combinations perform well against wind-driven rain off the bay, and we're not guessing at how a detail will hold up through a Whatcom County winter — we've seen how these details perform in this specific climate, on homes not far from Columbia.
We also coordinate scheduling around a builder's timeline rather than working in isolation. New-construction windows have to go in at a specific point in the framing sequence — too early and the opening may not be final; too late and it holds up siding and interior trades. Being local means we can be responsive to a builder's actual schedule instead of working around a long drive.
A Homeowner's Checklist for the New-Construction Window Process
Whether you're working with a builder directly or managing parts of the project yourself, these are worth confirming before windows go in:
- Confirm which party is responsible for the sill pan and flashing tape — window installer, framer, or siding crew — so nothing gets assumed and skipped
- Ask whether flashing details will be photographed before they're covered
- Check that the WRB and flashing tape being used are listed as compatible by their manufacturers
- Confirm fastener and hardware corrosion ratings if the home is close to the water
- Ask how sills are sloped to drain, especially on any wall that faces prevailing wind and rain
- Get the window's warranty terms in writing, including what voids coverage on the installation side
Timing It With Your Build
New-construction windows generally go in once the home is fully framed, sheathed, and wrapped with its water-resistive barrier — but before siding starts. That window in the schedule can be tight, especially later in the year when Whatcom County's rainy stretch limits the number of dry working days. We build some flexibility into our scheduling for local new-construction clients so a weather delay on the framing side doesn't turn into a much longer delay on windows and siding.
If you're planning a new build or addition in Columbia and want windows installed with this climate in mind from the start, we're glad to walk your plans, talk through frame and material options for your specific elevations, and give you a straightforward, no-pressure estimate using the form below.